If you’re looking into adding a second SSD as well, we’d likely be right to guess that you found the current SSD landscape to be confusing. SATA, NVME, M.2, PCIe, and a bunch of other technical jargon can make selecting and installing an SSD seem intimidating for the average user, but this is where we come in.
Types of Solid state drives (SSD)
If you’ve installed an SSD previously, or you’ve already purchased an SSD compatible with your system, feel free to skip ahead to the installation steps. However, for those still in the research stage, this section will be helpful. There are two key factors to note for compatibility – interface standard and form factor. The interface specification defines how the SSD actually works (data transmission modes, communication methods, etc.), whereas the form factor simply refers to the physical shape and size of the SSD. SSDs come in various combinations of interfaces and form factors, but many of them are very niche or proprietary. As such, we’ll only talk about the most relevant ones here for the sake of conciseness.
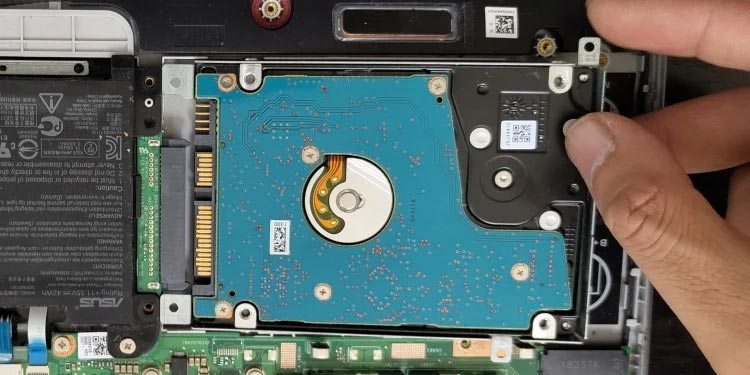
2.5” SATA SSD
These are older SSDs designed with a form factor similar to HDDs. As these types of SSDs use the SATA interface, the data transfer rate isn’t that impressive (max 600 MB/s). However, these SSDs are still fairly popular due to their excellent compatibility with different systems.
M.2 SATA SSD
This type of SSD uses the SATA interface as well, meaning the data transfer rate is similar to the previously discussed SSDs. However, it distinguishes itself due to the M.2 form factor. 2 SSDs are 22mm wide, with varying lengths depending on the module, and they mount onto the M.2 slots on the motherboard. Additionally, M.2 SATA SSDs generally have two keying notches in the M and B positions as they use two PCI Express lanes (PCIe ×2).
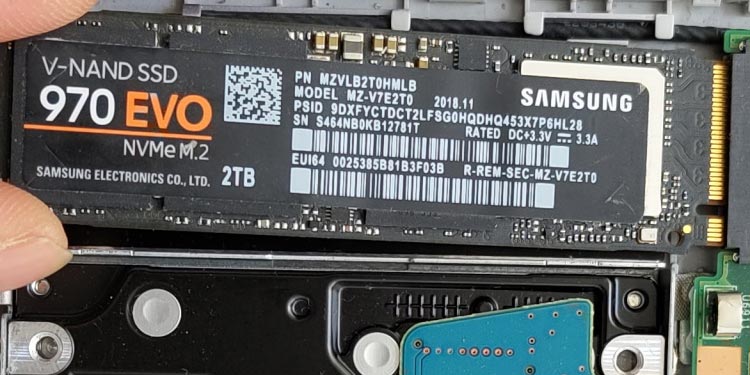
M.2 NVME SSD
M.2 NVME SSDs use four PCI Express lanes (PCIe x4) and generally connect through the PCIe 3.0 (2,400 MB/s) or PCIe 4.0 (6,900 MB/s) interface. This type of SSD is very popular these days due to the mix of compact size and excellent performance. As for identification, this type of SSD uses one keying notch in the M position. In terms of the module name, a codename like M.2 2260 indicates that the SSD is 22 mm in width and 60 mm in length.
Preliminary Steps
At this point, you should be able to identify your SSD type. You should refer to the motherboard or laptop manual to find out where the respective socket (SATA or M2) is located. Before you can connect the SSD to the socket, though, there are a few preliminary steps to follow:
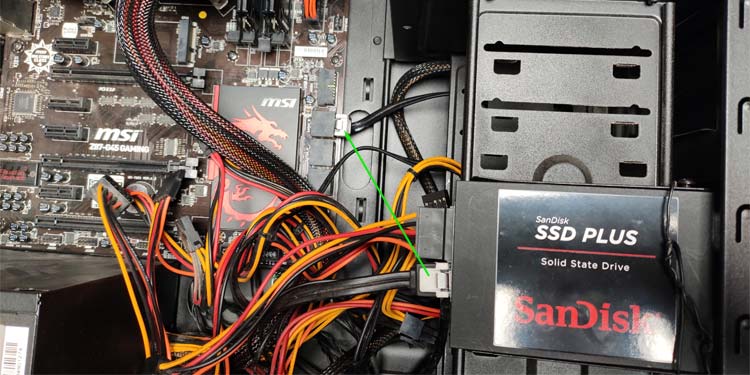
How to Install a Second 2.5” SATA SSD?
You’ll need a SATA power cable and data cable to install a 2.5” SATA SSD. Depending on your PC case, you may also need additional mounting brackets or 2.5” to 3.5” bay adapters. Once you have the required components, follow the steps listed below to install the SSD:
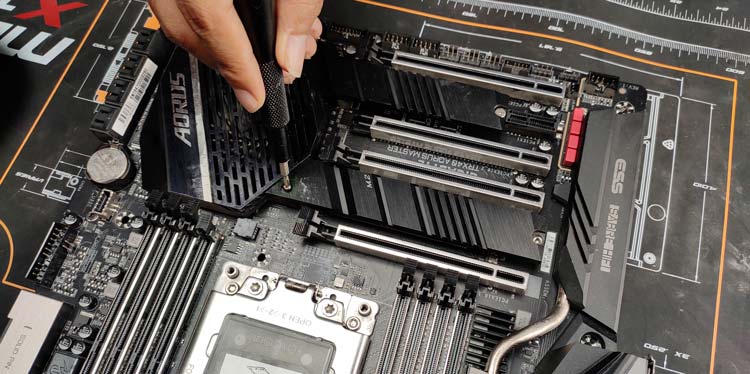
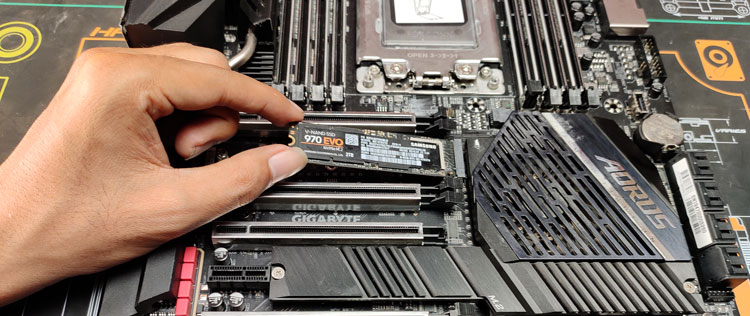
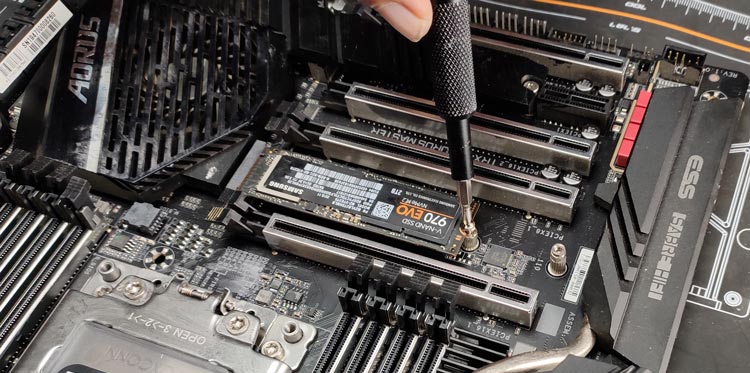
How to Install a Second M.2 SSD?
Unlike the traditional 2.5” drives, M.2 SSDs mount directly onto the M.2 slots on the motherboard, meaning no data or power cables are required. Some M.2 modules have attached heatsinks, while you can (optionally) install them on others. With that said, here are the necessary steps to install an M.2 SSD:
How to Install a Second SSD on A Laptop?
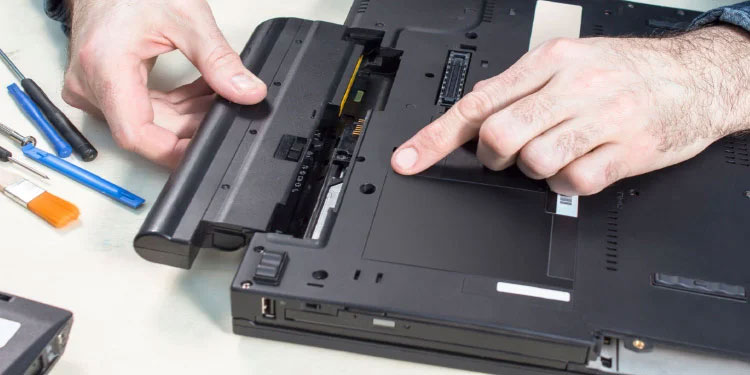
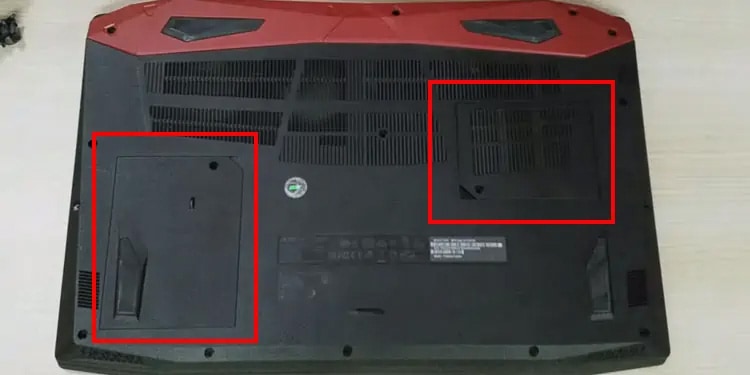
For laptops, the main concern is usually whether your laptop can actually house a second SSD or not. Some manufacturers provide multiple M.2 slots, while others may not give any room for upgrades. While not as common these days, people also used to remove the CD-Drive and install a 2.5” SATA drive in its place. Either way, the steps listed below will help you install the SSD on your laptop, provided it’s supported:
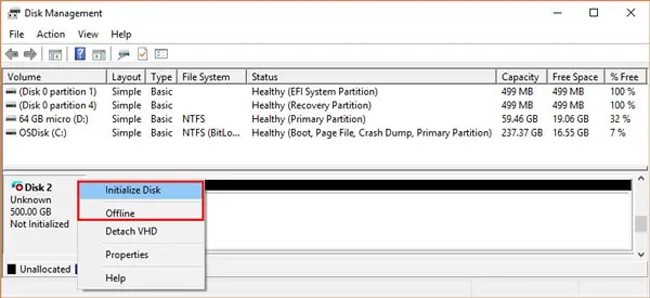
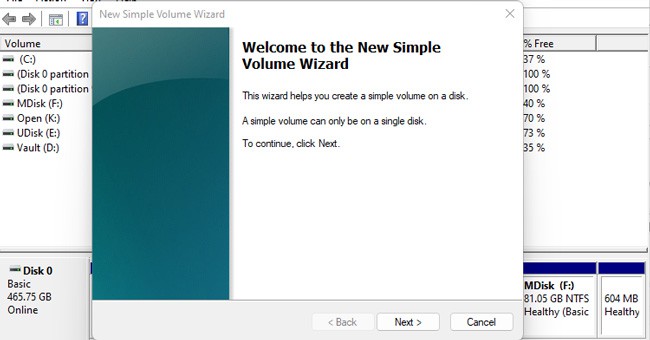
Software-End Installation
The hardware-end installation is complete, but you’ll also need to initialize your brand-new SSD before you can start using it. On the Mac models that allow upgrading the storage, you can do this by Erasing the disk through the Disk Utility. On Windows, you can initialize the drive through the Disk Management utility. Here are the necessary steps for this: Finally, if you installed an old SSD that you plan to boot from, you’ll need to change the Boot Order as well. You can do this by pressing the BIOS key (Function keys or Del), setting the SSD as the boot drive, and saving the changes. And with that, you’re good to go.


title: “How To Install A Second Ssd” ShowToc: true date: “2022-12-20” author: “Eugene Connolly”
If you’re looking into adding a second SSD as well, we’d likely be right to guess that you found the current SSD landscape to be confusing. SATA, NVME, M.2, PCIe, and a bunch of other technical jargon can make selecting and installing an SSD seem intimidating for the average user, but this is where we come in.
Types of Solid state drives (SSD)
If you’ve installed an SSD previously, or you’ve already purchased an SSD compatible with your system, feel free to skip ahead to the installation steps. However, for those still in the research stage, this section will be helpful. There are two key factors to note for compatibility – interface standard and form factor. The interface specification defines how the SSD actually works (data transmission modes, communication methods, etc.), whereas the form factor simply refers to the physical shape and size of the SSD. SSDs come in various combinations of interfaces and form factors, but many of them are very niche or proprietary. As such, we’ll only talk about the most relevant ones here for the sake of conciseness.
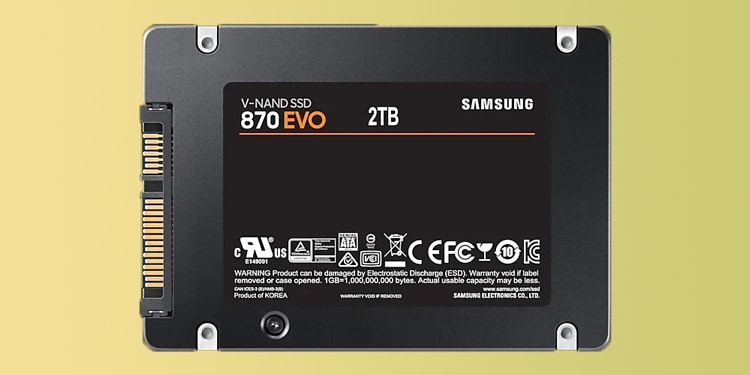
2.5” SATA SSD
These are older SSDs designed with a form factor similar to HDDs. As these types of SSDs use the SATA interface, the data transfer rate isn’t that impressive (max 600 MB/s). However, these SSDs are still fairly popular due to their excellent compatibility with different systems.
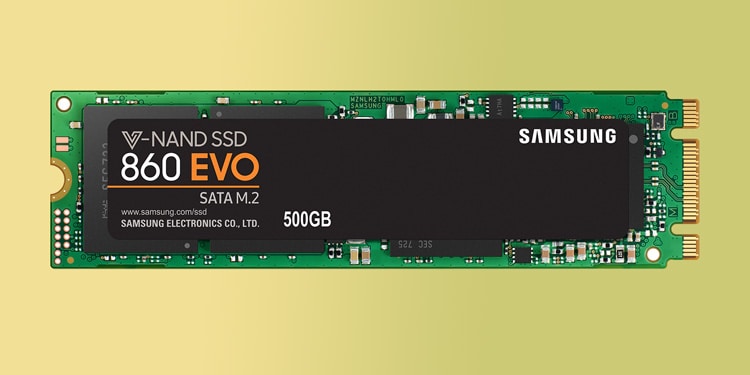
M.2 SATA SSD
This type of SSD uses the SATA interface as well, meaning the data transfer rate is similar to the previously discussed SSDs. However, it distinguishes itself due to the M.2 form factor. 2 SSDs are 22mm wide, with varying lengths depending on the module, and they mount onto the M.2 slots on the motherboard. Additionally, M.2 SATA SSDs generally have two keying notches in the M and B positions as they use two PCI Express lanes (PCIe ×2).
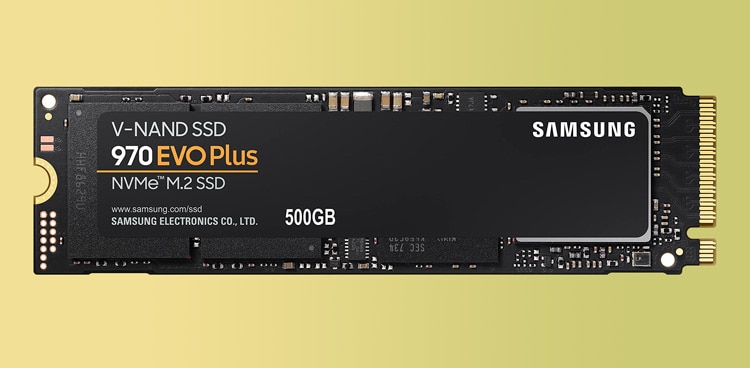
M.2 NVME SSD
M.2 NVME SSDs use four PCI Express lanes (PCIe x4) and generally connect through the PCIe 3.0 (2,400 MB/s) or PCIe 4.0 (6,900 MB/s) interface. This type of SSD is very popular these days due to the mix of compact size and excellent performance. As for identification, this type of SSD uses one keying notch in the M position. In terms of the module name, a codename like M.2 2260 indicates that the SSD is 22 mm in width and 60 mm in length.
Preliminary Steps
At this point, you should be able to identify your SSD type. You should refer to the motherboard or laptop manual to find out where the respective socket (SATA or M2) is located. Before you can connect the SSD to the socket, though, there are a few preliminary steps to follow:
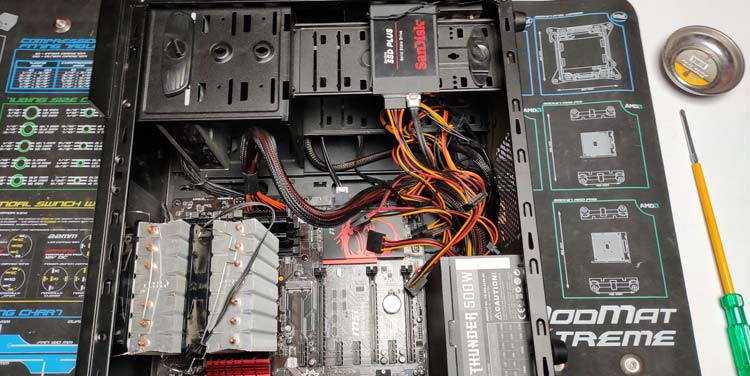
How to Install a Second 2.5” SATA SSD?
You’ll need a SATA power cable and data cable to install a 2.5” SATA SSD. Depending on your PC case, you may also need additional mounting brackets or 2.5” to 3.5” bay adapters. Once you have the required components, follow the steps listed below to install the SSD:
How to Install a Second M.2 SSD?
Unlike the traditional 2.5” drives, M.2 SSDs mount directly onto the M.2 slots on the motherboard, meaning no data or power cables are required. Some M.2 modules have attached heatsinks, while you can (optionally) install them on others. With that said, here are the necessary steps to install an M.2 SSD:
How to Install a Second SSD on A Laptop?
For laptops, the main concern is usually whether your laptop can actually house a second SSD or not. Some manufacturers provide multiple M.2 slots, while others may not give any room for upgrades. While not as common these days, people also used to remove the CD-Drive and install a 2.5” SATA drive in its place. Either way, the steps listed below will help you install the SSD on your laptop, provided it’s supported:
Software-End Installation
The hardware-end installation is complete, but you’ll also need to initialize your brand-new SSD before you can start using it. On the Mac models that allow upgrading the storage, you can do this by Erasing the disk through the Disk Utility. On Windows, you can initialize the drive through the Disk Management utility. Here are the necessary steps for this: Finally, if you installed an old SSD that you plan to boot from, you’ll need to change the Boot Order as well. You can do this by pressing the BIOS key (Function keys or Del), setting the SSD as the boot drive, and saving the changes. And with that, you’re good to go.
